Lift and Raspberry Pi
Several months ago I blogged about controlling a servo motor with an Arduino board and a Lift application running on my computer.
That was a fun little experiment I did, but having to use my regular laptop to send the signals wasn’t all that great. So I decided to try something a bit different this time.
The light.
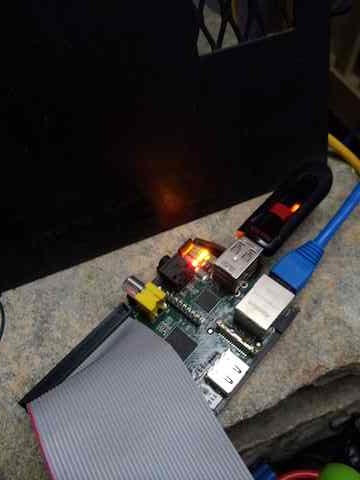
I had successfully run a Lift application on my raspberry pi computer, so I figured to try and control the GPIO pins from the raspberry pi from a Lift application.

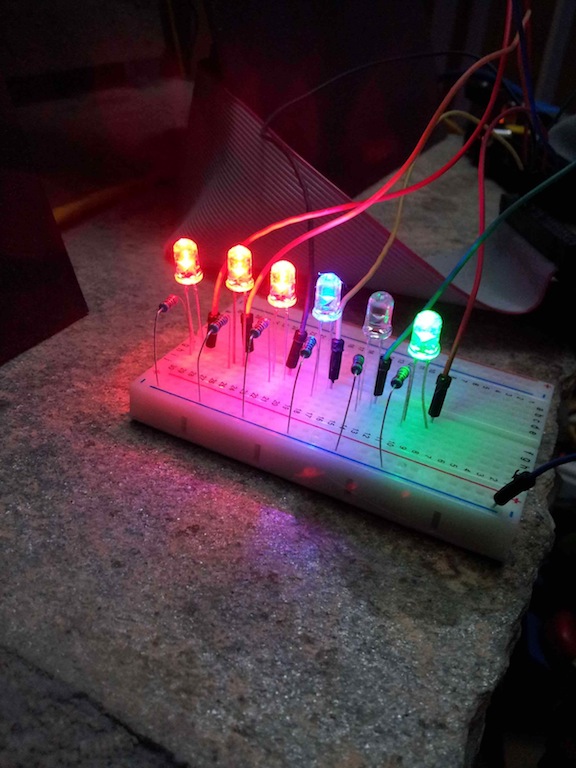
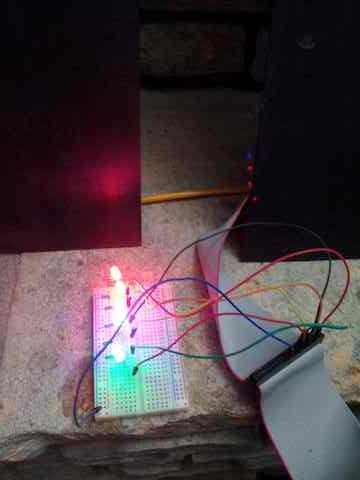
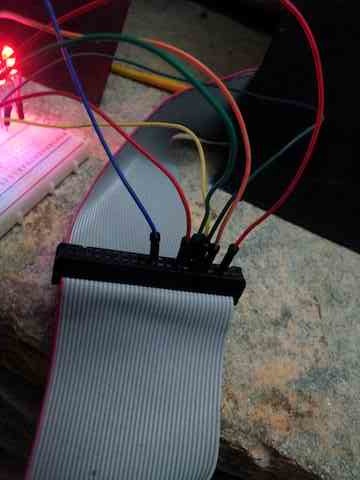
I went around my house looking for wires and a few LEDs and before I knew it, I had a Lift application turning 6 LEDs on and off. But that wasn’t all. I wired up a comet page to display the current status of each pin and you have a few buttons to toggle their status.
Some automation.
This was pretty cool, I could load this app from my Android phone and I could turn the lights on/off, but after a little while this became a bit boring, so I decided to have a Lift Actor run on Boot, so that it will randomly turn lights on and off.
The code was simple:
object GpioCometManager extends LiftActor with ListenerManager with Loggable {
  ...
  private var runShow_? = true

  override def lowPriority = {
    case InitLightsCron => spiceUpLights()
    ...
  }

  ...

  private def spiceUpLights() {
    import util.Random
    import scala.language.postfixOps //This is for scala 2.10
    if ( runShow_? ) {
      val pin = Random.shuffle( Controller.digitalOutPins ).headOption
      pin.foreach( p =>   this ! PinToggle( p ) )
    }
    Schedule.schedule(this, InitLightsCron, 1 second )
  }
When this Lift Actor gets the message InitLightsCron, it checks if we want to run the show (by checking the value of the Boolean var runShow_?. If true, then we pick a random pin and Toggle it. This being a ListenerManager, it will then update all the comet actors that are currently connected to this raspberry pi.
You can actually see this running live at this address //I’m not sure how long I’ll keep it online)

It has to be RESTful.
As if this wasn’t enough, I then decided to add a rest endpoint to allow reading the current status of each pin, and also toggle them, using PUT requests.
You can go to the starting point and navigate from there to all the child resource URIs.
Sending a PUT request.
To set the pin1 to off, you can use:
curl \
  -H "Content-Type: application/json" \
  -XPUT http://fmpwizard.no-ip.org/api/raspberrypi/gpio/pin1 \
  -d '{"status":false}'
And to get the current status of the pin, you can use:
curl \
  -H "Content-Type: application/json" \
  -XGET http://fmpwizard.no-ip.org/api/raspberrypi/gpio/pin1
and you would get:
{"status":"true","put-uri":"http://fmpwizard.no-ip.org/api/raspberrypi/gpio/pin1"}
It even has a status url that runs stateless, so you can hit it as often as you want, and it will give you an OK 200 if all is well.


In Action.
Here you can see a video of the LEDs turning on and off, as well as two browser windows showing two separate sessions getting the updated status (this is an older UI, the latest UI has nicer colors to indicate on/off status.
The code.
All the code to run this app in your own raspberry pi is on github (Note the branch name, as I have several projects on that repository).
If you want to package this, I included the assembly sbt plugin, so you can run assembly from the sbt prompt, and it will generate a jar file that you can then copy to your raspberry pi and run like:
java -jar -Drun.mode=production /media/usbstick/raspberry-gpio-assembly-0.1.jar
Live app.
For as long as I can, I’ll leave my little Pi running here
Thanks
Credits
While my focused was getting Lift to run on this Raspberry Pi, please note that a huge part of this app is made possible thanks to the pi4j project.
-Diego